
Based on my failed attempts at trying to recreate the blog post Marc Nostromo put up on his own blog to Add MIDI to The Monotron I figured that I’d start from his inspiration and begin my own code development step by step to show how I got from cool idea to finished product. Including all the steps in between.
This project is built as a USB MIDI solution, so all uses of MIDI from here on out will be done via a USB connection, or at least the endpoint of the midi chain will be routed to a USB connection through a computer. The way we are going to handle the USB and the MIDI is via the Teensy 3.0.
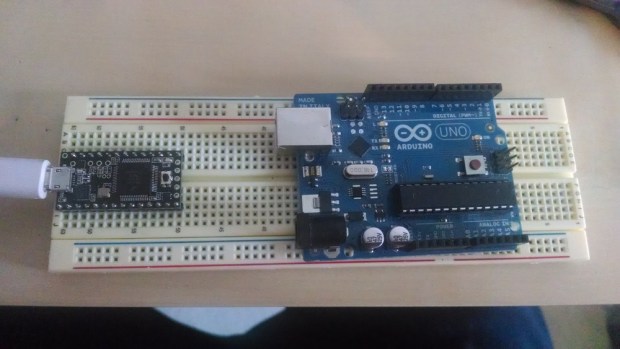
The Teensy 3.0 is a 32-bit ARM cortex based microcontroller with a 48Mhz clock speed. The main reason it was applicable to this project is the small form factor and direct USB MIDI compatibility. This means that the developers of the Teensy have developed functions that can interpret MIDI messages to and from the Teensy itself. If you flip a switch then, the Teensy could send middle C (MIDI message) to your computer and then play that note.
In our case, we are going to do exactly the opposite.
The Teensy will be set up as a USB midi device, much like a USB MIDI interface, that will take a given MIDI message and set voltage levels on various pins that will be connected to the Montoron’s voltage control test points (gate, pitch, and cutoff). This will allow us to control the Monotron via the computer and any midi messages we desire. In our case we are going to design the system to correspond correctly to the pitch tempo and cutoff control frequency that is contained in the midi message, but you could always adjust this code to do something more nutty like play only a certain scale of notes no matter what the input message note is.
Since I usually like to see things for myself, the first step for me is to check out whether all the hype is real, does the Teensy actually know what MIDI notes its receiving, and how can I check that it’s getting the right message at the right time? This is what LED’s are for.

Below is a code segment that identifies a particular MIDI note, and gives a unique event to recognize that the Teensy knows the note is played. I have it set up here for middle C to trigger led 1, D to trigger led 2, and E to trigger led3.
// J. Kolb Midi test 1/21/14
// This is a test to see how the midi usb complience of the teensy 3.0 works
int ledPin = 5;
int ledPin2 = 6;
int ledPin3 = 7;
int ledPin4 = 4;
void OnNoteOn(byte channel, byte note, byte velocity)
{
  if(note == 48) // check for middle C
    digitalWrite(ledPin, HIGH);
  if(note == 50) // check for d
    digitalWrite(ledPin2, HIGH);
  if(note == 52) // check for e
    digitalWrite(ledPin3, HIGH);
}
void OnNoteOff(byte channel, byte note, byte velocity)
{
  if(note == 48)
    digitalWrite(ledPin, LOW);
  if(note == 50) // check for middle C
    digitalWrite(ledPin2, LOW);
  if(note == 52) // check for middle C
    digitalWrite(ledPin3, LOW);

}

void setup()
{
  // Initialize hardware

  pinMode(ledPin, OUTPUT);
  pinMode(ledPin2, OUTPUT);
  pinMode(ledPin3, OUTPUT);

  // Initialise midi input callbacks

  usbMIDI.setHandleNoteOff(OnNoteOff);
  usbMIDI.setHandleNoteOn(OnNoteOn) ;

  // Initialization pin check

  digitalWrite(ledPin, HIGH);
  digitalWrite(ledPin2, HIGH);
  digitalWrite(ledPin3, HIGH);
  delay(1000);
  digitalWrite(ledPin, LOW);
  digitalWrite(ledPin2, LOW);
  digitalWrite(ledPin3, LOW);
  delay(1000);
}

void loop()
{
  usbMIDI.read(1);  //only reads midi channel 1
}
